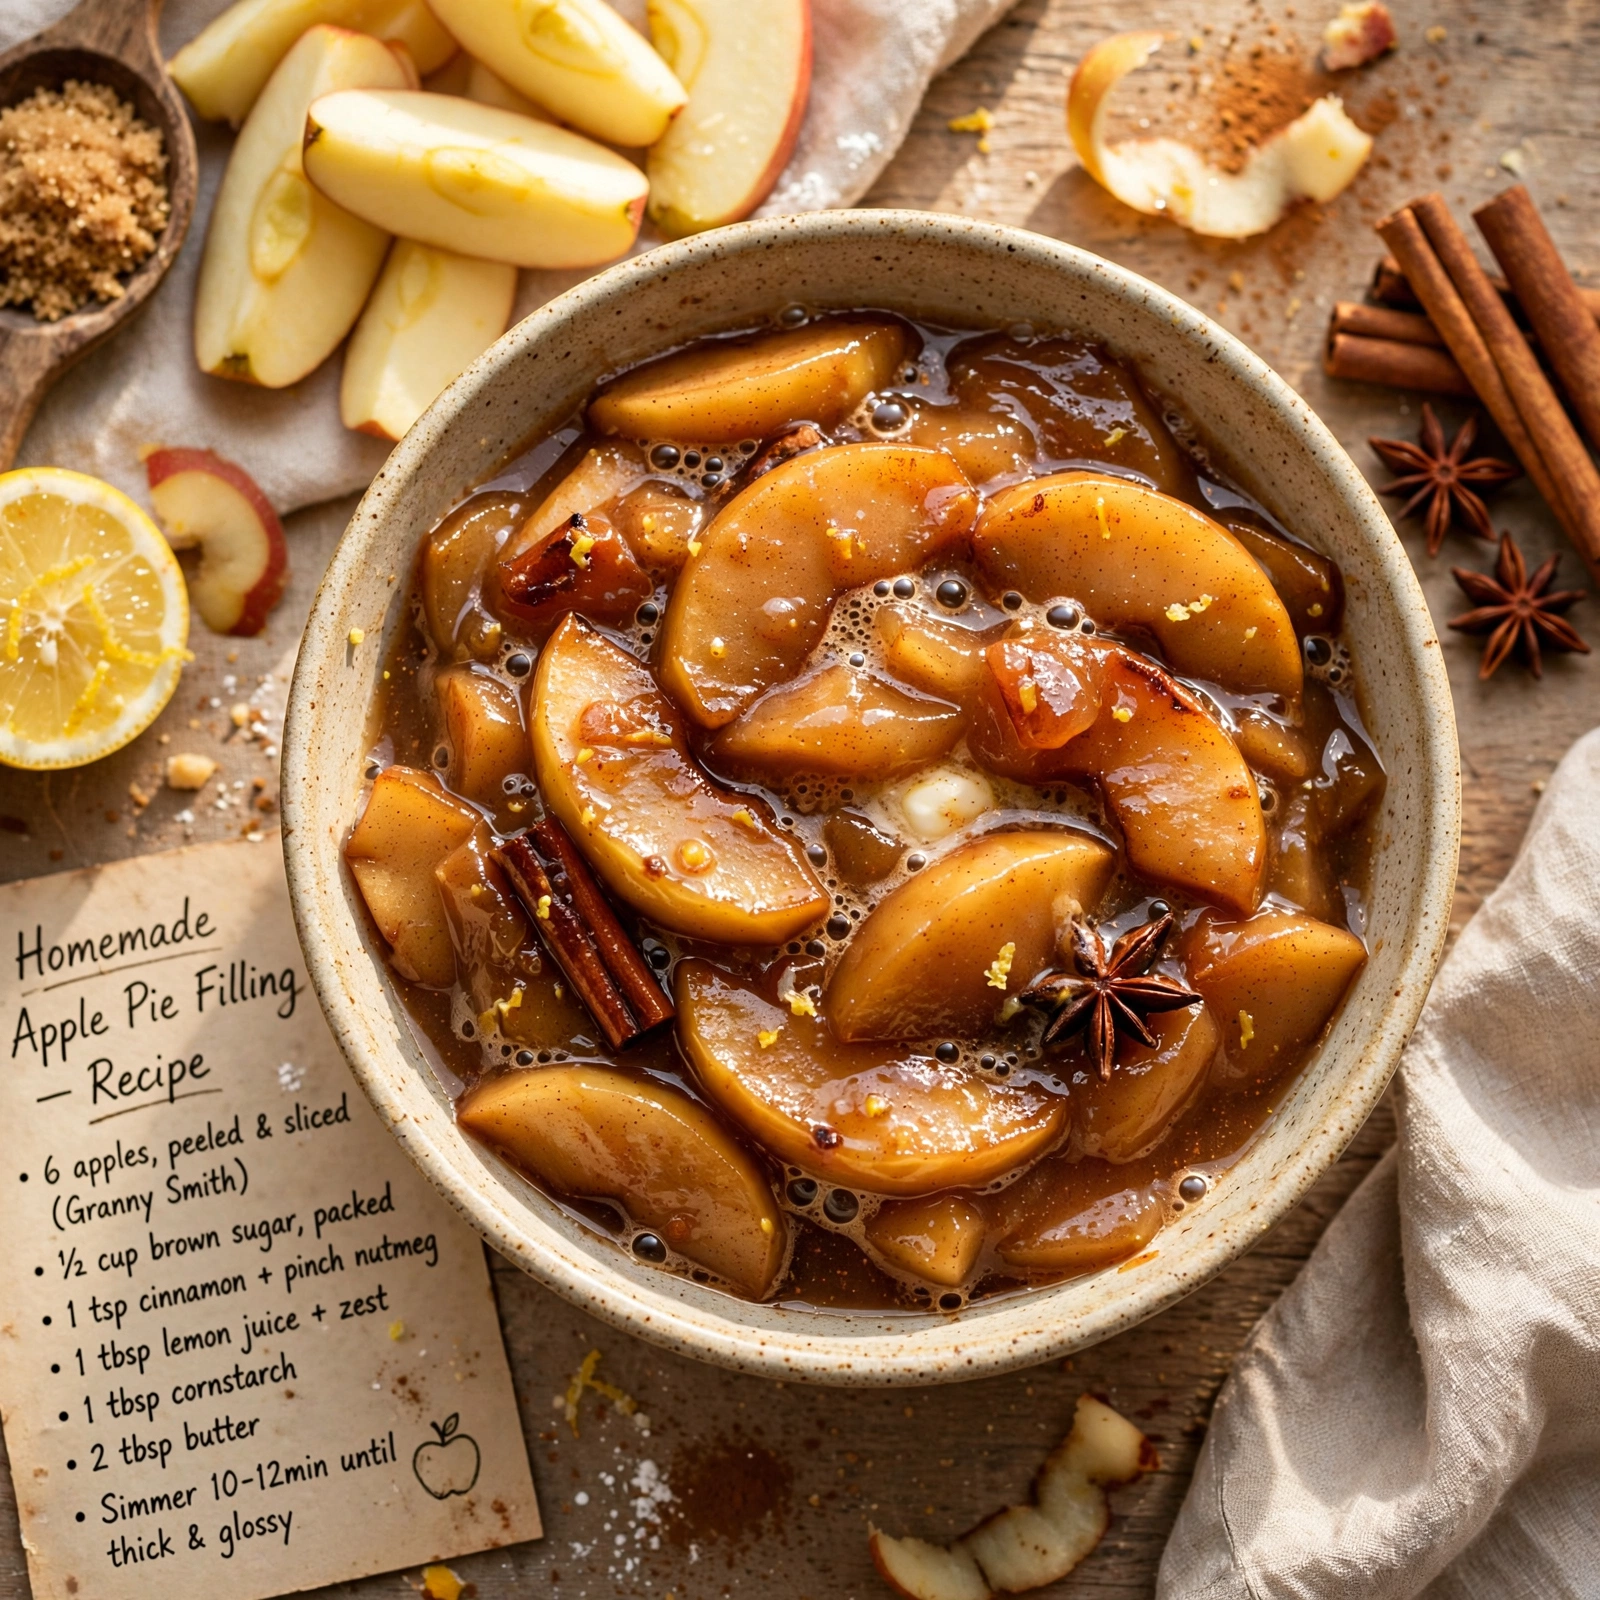
Homemade Apple Pie Filling
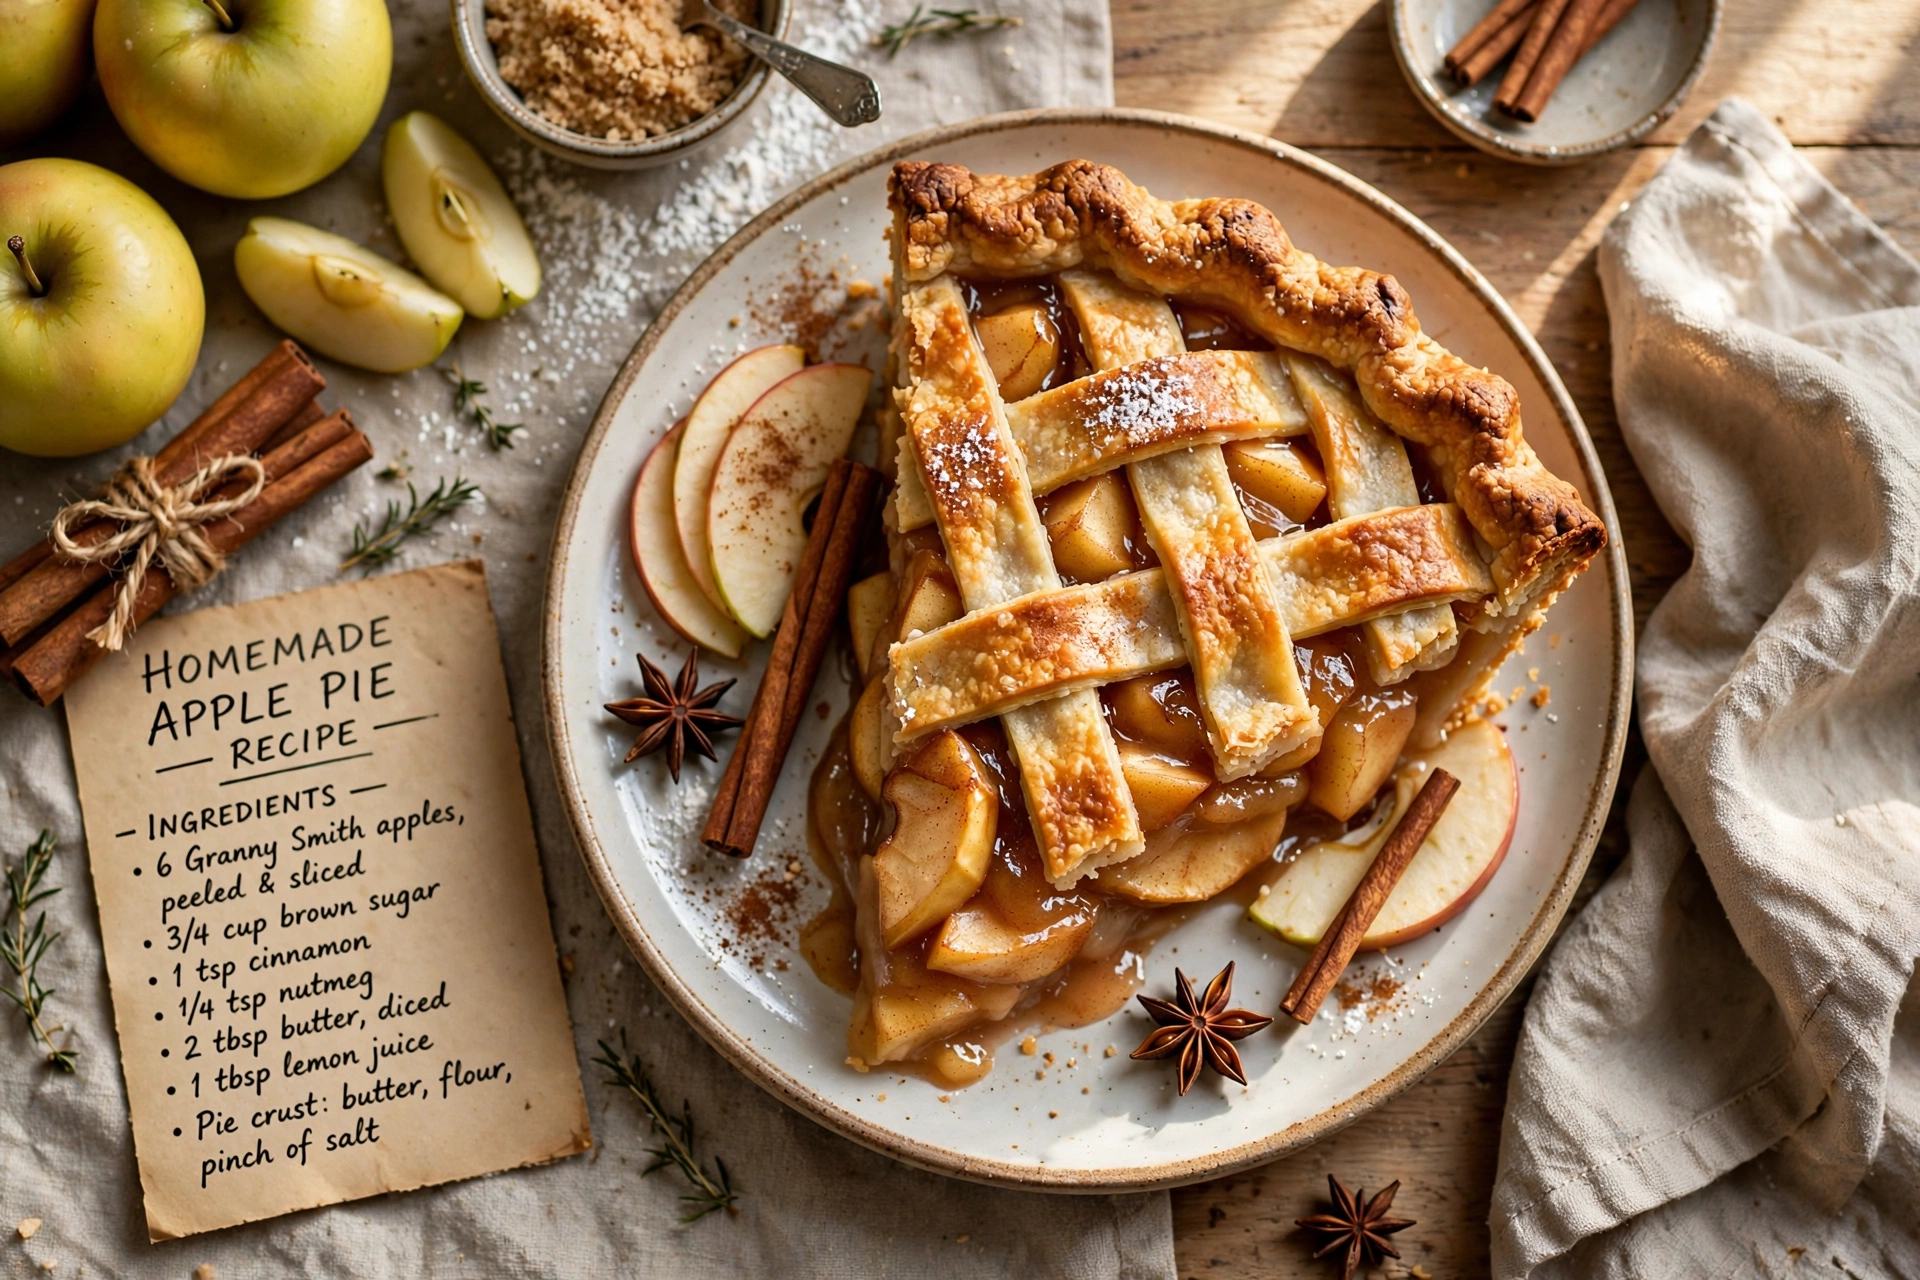
Thick, cinnamon-spiced homemade apple pie filling made from fresh apples, perfect for pies, hand pies, or spooning warm over ice cream.

Why You Need This Homemade Apple Pie Filling Recipe
There is a reason fresh apple pie filling recipes never go out of style. The moment this mixture starts simmering on the stove, cinnamon and warm apples fill the kitchen with the kind of smell that makes people wander in from other rooms asking what's cooking. This is not the pale, mushy filling from a can. This is thick apple pie filling made the old fashioned way, with real fruit, warm spices, and a glossy homemade sauce that clings to every slice.
Whether you're prepping for Thanksgiving, stocking your freezer for busy weeknights, or just craving something cozy, this homemade apple filling comes together with pantry staples and about 35 minutes of your time. It is, hands down, an amazing homemade apple pie starter, and once you make it from scratch you may never go back to store bought again.
Before we get cooking, the right tools and ingredients make a real difference here. A sturdy vegetable peeler and a sharp paring knife turn apple prep from a chore into a quick, easy task, and a reliable heavy bottomed saucepan helps the filling thicken evenly without scorching. These are the products that genuinely help this recipe shine:
Choosing the Best Apples for Pie Filling
Not all apples behave the same way once they hit heat. For the best cooked apple pie filling, you want a variety that holds its shape instead of turning to mush.
- Granny Smith: tart, firm, and the classic pie apple for good reason
- Honeycrisp: sweet with a satisfying crunch that mellows beautifully when cooked
- Braeburn or Jonagold: great backups with a nice balance of sweet and tart
Many bakers like to mix two varieties, such as Granny Smith and Honeycrisp, for a filling with both tang and natural sweetness.
Chef's Tip: Slice your apples to a consistent 1/4 inch thickness. Uneven slices mean some pieces turn mushy while others stay hard, and consistency is the secret to that perfect easy apple filling texture.
How To Make Apple Pie Filling From Fresh Apples
The method behind home made apple pie filling easy enough for a weeknight really comes down to three steps: build a thickened spiced sauce, add your apples, and simmer until just tender. Because the sauce is cooked separately before the apples go in, you get full control over the texture and never end up with a watery, runny filling.
A splash of lemon juice does double duty here. It keeps your sliced apples from browning while you work, and it brightens the finished filling so it doesn't taste flat or overly sweet.
Ready to make it? Here is the full step-by-step recipe:
Homemade Apple Pie Filling
Thick, cinnamon-spiced homemade apple pie filling made from fresh apples, perfect for pies, hand pies, or spooning warm over ice cream.
Ingredients
- 8 apples, peeled, cored, and sliced 1/4 inch thick (Granny Smith or Honeycrisp work best)
- 3/4 cup granulated sugar
- 1/4 cup brown sugar, packed
- 3 tbsp cornstarch
- 1 1/2 tsp ground cinnamon
- 1/4 tsp ground nutmeg
- 1/4 tsp salt
- 3/4 cup water
- 1 tbsp lemon juice, freshly squeezed
- 1 tbsp unsalted butter, optional, for richness
Instruction
Peel, core, and slice the apples into even 1/4 inch pieces so they cook at the same rate.
Toss the sliced apples with the lemon juice in a large bowl to prevent browning.
In a medium saucepan, whisk together the granulated sugar, brown sugar, cornstarch, cinnamon, nutmeg, and salt.
Whisk in the water until the mixture is smooth with no cornstarch lumps.
Set the saucepan over medium heat and bring to a gentle simmer, whisking often, until the mixture thickens into a glossy sauce, about 3 to 4 minutes.
Add the sliced apples to the saucepan and stir to coat them completely in the thickened sauce.
Reduce the heat to medium low and cook, stirring occasionally, for 8 to 10 minutes, until the apples are just tender but still hold their shape.
Stir in the butter, if using, until melted and glossy.
Remove from the heat and let the filling cool for at least 20 minutes before using or storing.
Equipment
- Large mixing bowl
- Medium saucepan
- Whisk
- Wooden spoon
- Vegetable peeler
- Sharp knife
Notes
Ways To Use Your Apple Pie Filling
This filling is endlessly versatile once it's made:
- Pour it into a classic double crust pie and bake until golden
- Spoon it into puff pastry for quick hand pies or turnovers
- Layer it over pancakes, waffles, or oatmeal for breakfast
- Warm it up and pour over vanilla ice cream for an easy dessert
- Fold it into a crisp or crumble topping for a rustic fall treat
Chef's Tip: If you're filling an unbaked pie crust, make sure the filling has cooled completely first. Warm filling can melt the butter in your crust before it even hits the oven, leading to a soggy bottom.
Storing and Freezing Tips
One of the best things about making a big batch of homemade apple filling is how well it keeps. Once completely cooled, transfer it to an airtight container and refrigerate for up to 5 days, which makes it a genuine make-ahead hero for holiday baking.
For longer storage, this filling freezes wonderfully. Portion it into freezer safe bags or containers, flatten out the air, and freeze for up to 3 months. Thaw overnight in the refrigerator before using, and give it a good stir since the sauce may separate slightly during freezing.
However you decide to use it, this filling proves that a truly amazing homemade apple pie starts long before the crust ever goes in the oven. Once you taste the difference fresh apples and real spices make, this recipe is likely to become a permanent fixture in your fall and winter baking rotation.