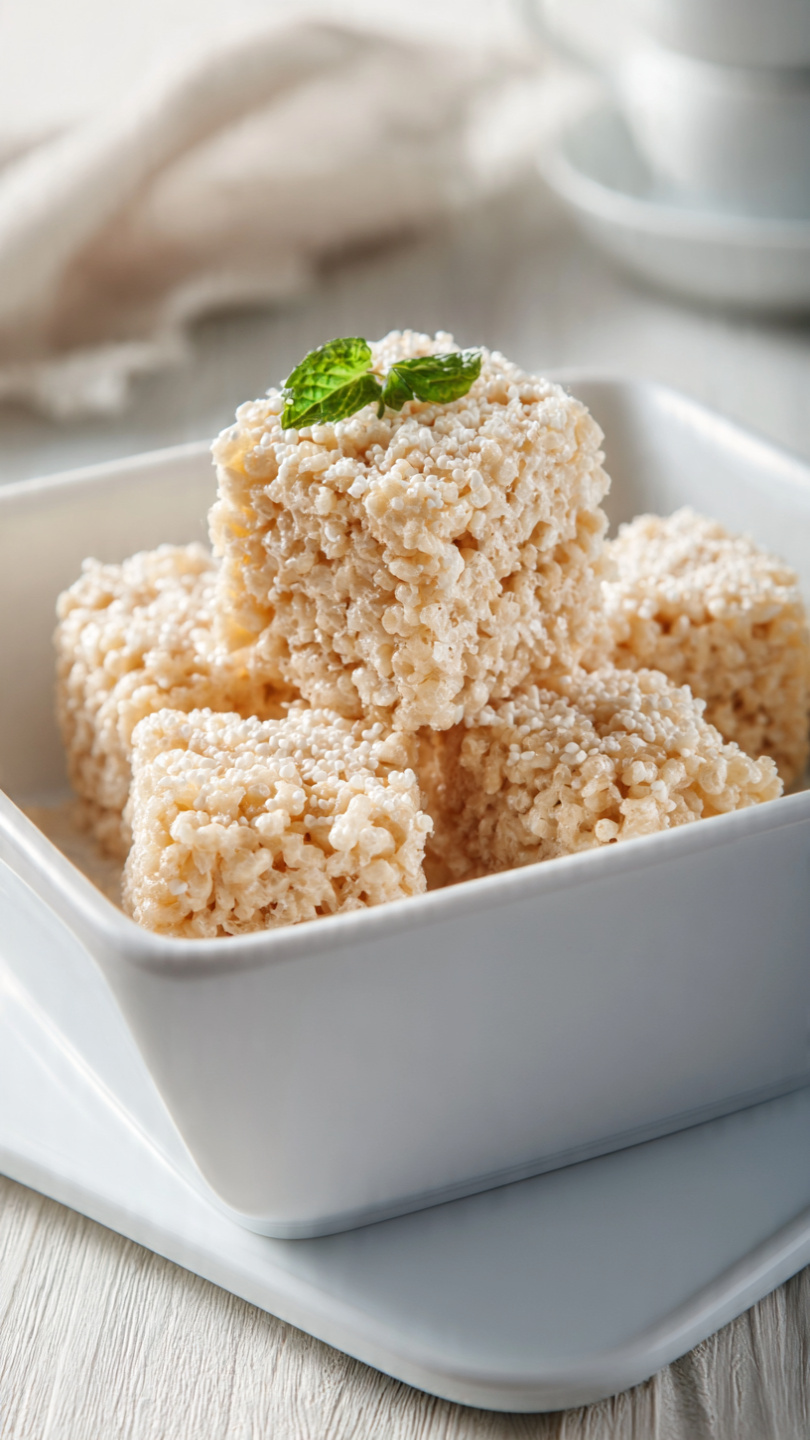
The Best Homemade Rice Krispie Treats
These homemade Rice Krispie Treats are irresistibly gooey, perfectly crispy, and ready in just 15 minutes with only 3 simple ingredients. The best marshmallow Krispie treats you'll ever make!

The Only Rice Krispie Treat Recipe You Will Ever Need
Some recipes are just timeless, and homemade Rice Krispie Treats are absolutely one of them. Whether you call them rice crispy treats homemade, marshmallow Krispie treats, or simply a childhood staple, there is something deeply comforting about pulling a pan of these out of the kitchen and watching everyone's eyes light up.
But here is the thing: most people are making them slightly wrong, and a few small tweaks are all it takes to go from good rice Krispie treats to the absolute best rice Krispies you have ever tasted. We are talking shatteringly crispy cereal, pools of melted marshmallow, and a deep, almost caramel-like buttery flavor that the back-of-the-box recipe just does not have.
The Secret to Next-Level Marshmallow Krispie Treats
The biggest upgrade you can make to any rice Krispy recipe is browning your butter. It takes less than two extra minutes and transforms the flavor from plain sweet to something that tastes genuinely special. The milk solids in the butter caramelize gently, giving your treats a subtle nutty, toffee-like depth.
The second secret? Reserve some marshmallows. After you melt the bulk of your marshmallows into that gorgeous gooey base, fold in one extra cup of unmelted mini marshmallows at the very end. Those little pillows stay soft and stretchy inside every bite, giving you that bakery-style gooeyness that makes these edible Rice Krispie treats completely irresistible.
Finally, a pinch of flaky sea salt on top ties everything together. It sounds like a small thing, but salt is what makes sweet things taste more like themselves.
Chef's Tip: Press the treats into the pan with buttered hands or parchment paper, and press gently rather than firmly. Compacting them too hard squeezes out all the air and gives you dense, hard squares instead of light, chewy ones.
Why the Right Tools Make a Difference
For a recipe this simple, your equipment and ingredient quality carry a lot of weight. A heavy-bottomed pot distributes heat evenly so your marshmallows melt without scorching, and a good silicone spatula makes folding the cereal in without crushing it much easier.
Cream Cheese Rice Krispie Treats Variation
If you want to take things even further, a cream cheese twist is a crowd favorite. Beat 2 oz of softened cream cheese into the melted marshmallow mixture right before you add the cereal. It adds a subtle tang that balances the sweetness beautifully and makes the texture even creamier. Cream cheese Rice Krispie treats have a slightly denser, fudgier bite and are especially popular at bake sales and parties.
Tips for Perfect Rice Crispy Treats Every Time
- Use fresh marshmallows. Stale marshmallows do not melt as smoothly and can make the treats grainy.
- Work quickly. The mixture sets fast. Have your pan greased and ready before you even turn on the stove.
- Do not skimp on butter. That fat is what keeps everything glossy, soft, and easy to cut.
- Low and slow on the heat. High heat scorches marshmallows and makes your treats tough.
Ready to Make the Best Homemade Rice Krispie Treats of Your Life?
This rice Krispy recipe is the only one you will ever need. Simple enough to make on a Tuesday afternoon with kids, impressive enough to bring to any gathering. Here is everything you need:
The Best Homemade Rice Krispie Treats
These homemade Rice Krispie Treats are irresistibly gooey, perfectly crispy, and ready in just 15 minutes with only 3 simple ingredients. The best marshmallow Krispie treats you'll ever make!
Ingredients
- 4 tbsp unsalted butter, plus extra for greasing the pan
- 10 cups mini marshmallows, divided, reserve 1 cup for folding in at the end
- 6 cups Rice Krispies cereal, measured before adding
- 1/2 tsp vanilla extract, pure, not imitation
- 1/4 tsp kosher salt, a pinch of flaky sea salt on top is optional but incredible
Instruction
Grease a 9x13-inch baking pan generously with butter or nonstick spray. Set aside.
In a large, heavy-bottomed pot or Dutch oven, melt the butter over medium-low heat. Let it cook for about 2 minutes, stirring occasionally, until it turns lightly golden and smells nutty. This brown butter step is the secret to next-level flavor.
Add 9 cups of the mini marshmallows to the pot. Stir constantly over medium-low heat until the marshmallows are completely melted and smooth, about 3 to 4 minutes. Remove the pot from the heat immediately.
Stir in the vanilla extract and kosher salt.
Add the Rice Krispies cereal all at once and fold gently with a buttered spatula until just combined. Do not overmix.
Fold in the reserved 1 cup of mini marshmallows for extra gooey pockets of texture.
Transfer the mixture to the prepared pan. Using buttered hands or a buttered piece of parchment paper, gently press the mixture into an even layer. Press lightly, not firmly, to keep them airy and soft.
If desired, sprinkle a pinch of flaky sea salt over the top.
Let the treats cool at room temperature for at least 20 minutes before cutting into 16 squares and serving.
Equipment
- 9x13-inch baking pan
- Large heavy-bottomed pot or Dutch oven
- Silicone spatula
- Parchment paper
- Sharp knife or bench scraper
Notes
Storing and Serving Your Treats
Once your treats have cooled for about 20 minutes, cut them into squares with a sharp knife or bench scraper. For clean edges, lightly grease the blade first.
Store leftovers in an airtight container at room temperature for up to 3 days. Tuck a slice of bread in the container to keep them soft. These treats do not need refrigeration and are actually best enjoyed at room temperature where the marshmallow stays pliable and chewy.
Whether you are making these as an after-school snack, a holiday treat, or simply because you deserve something delicious today, this recipe delivers every single time.