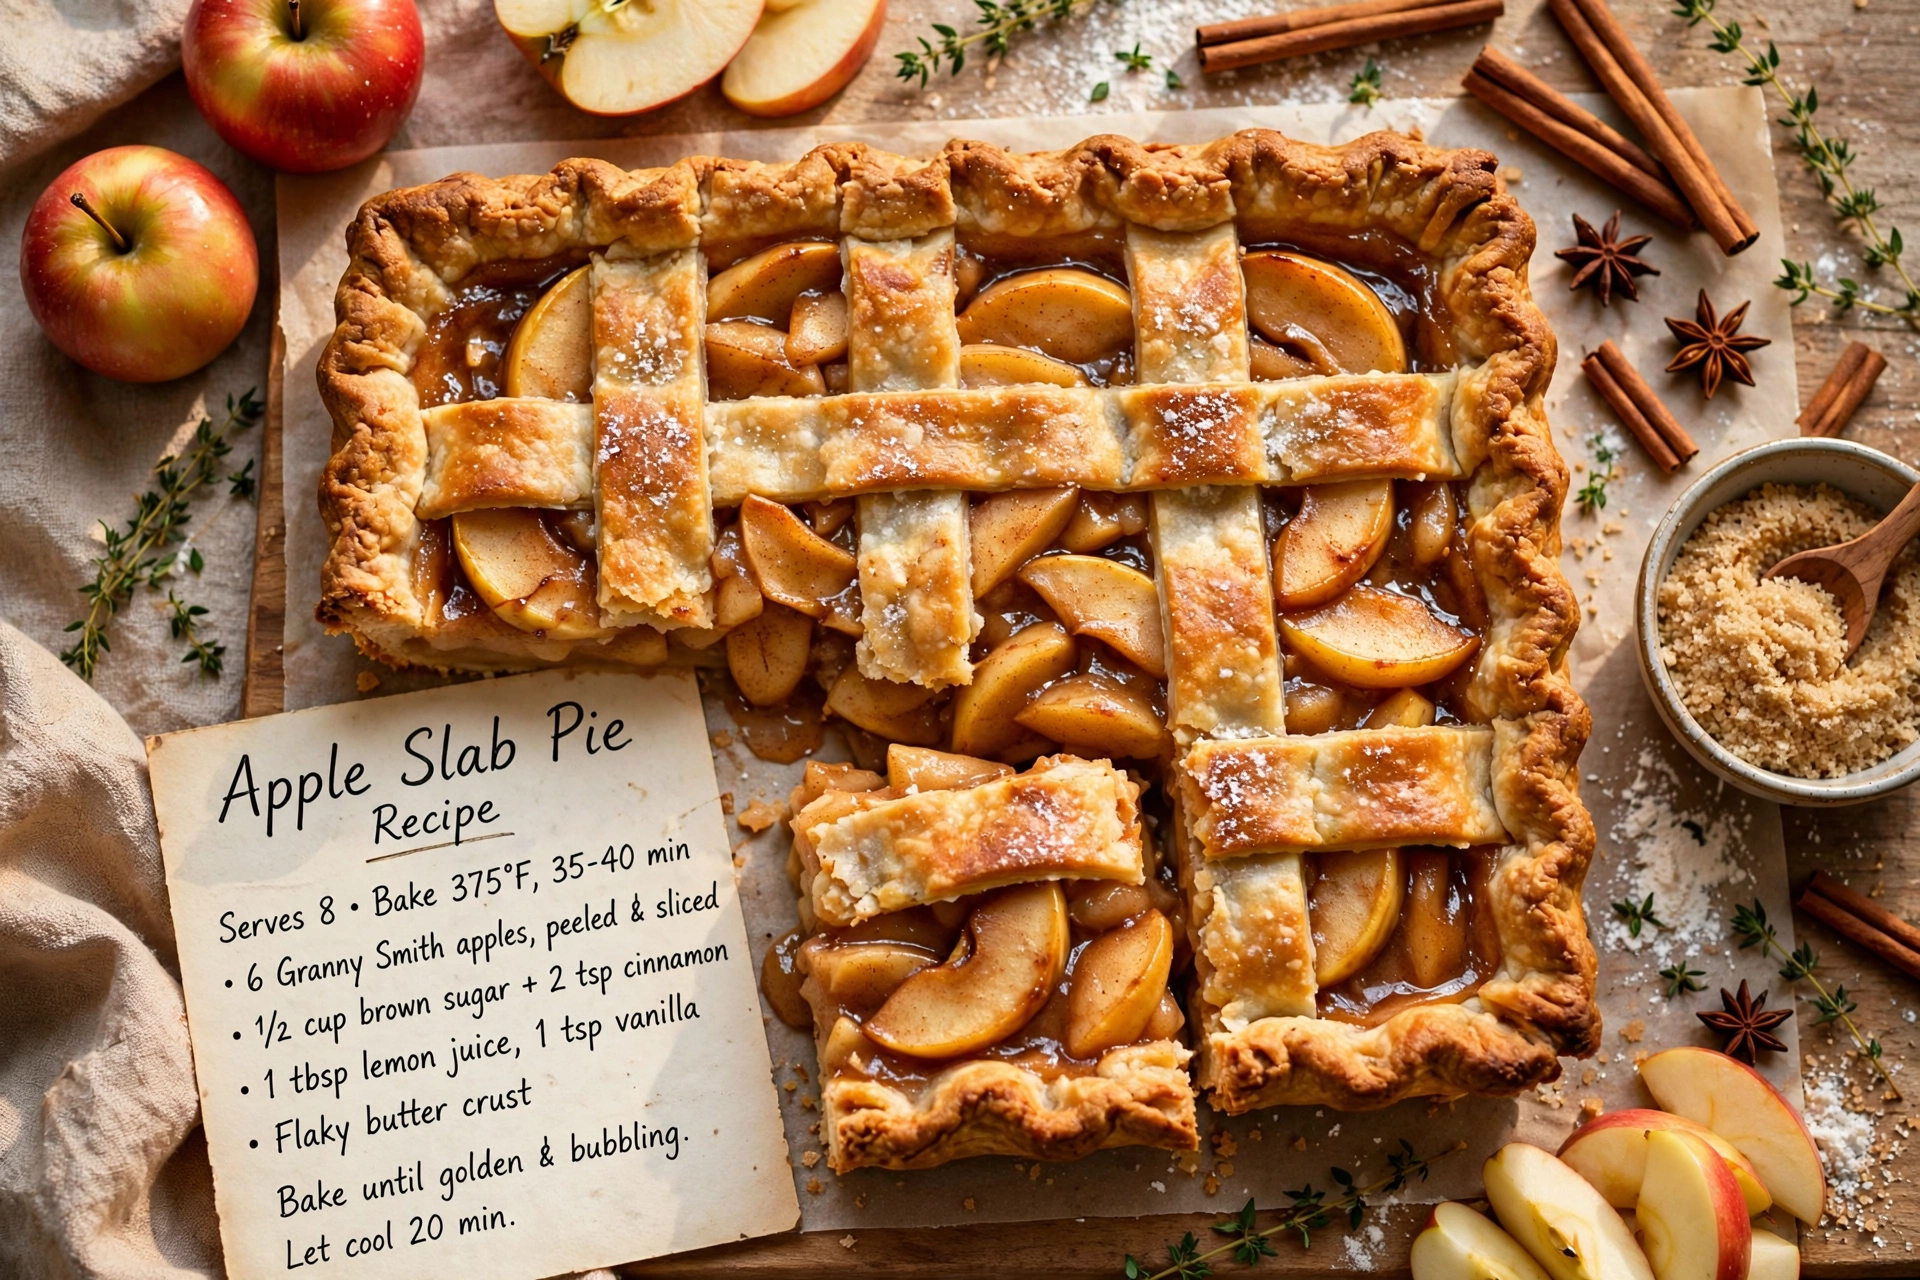
Apple Slab Pie
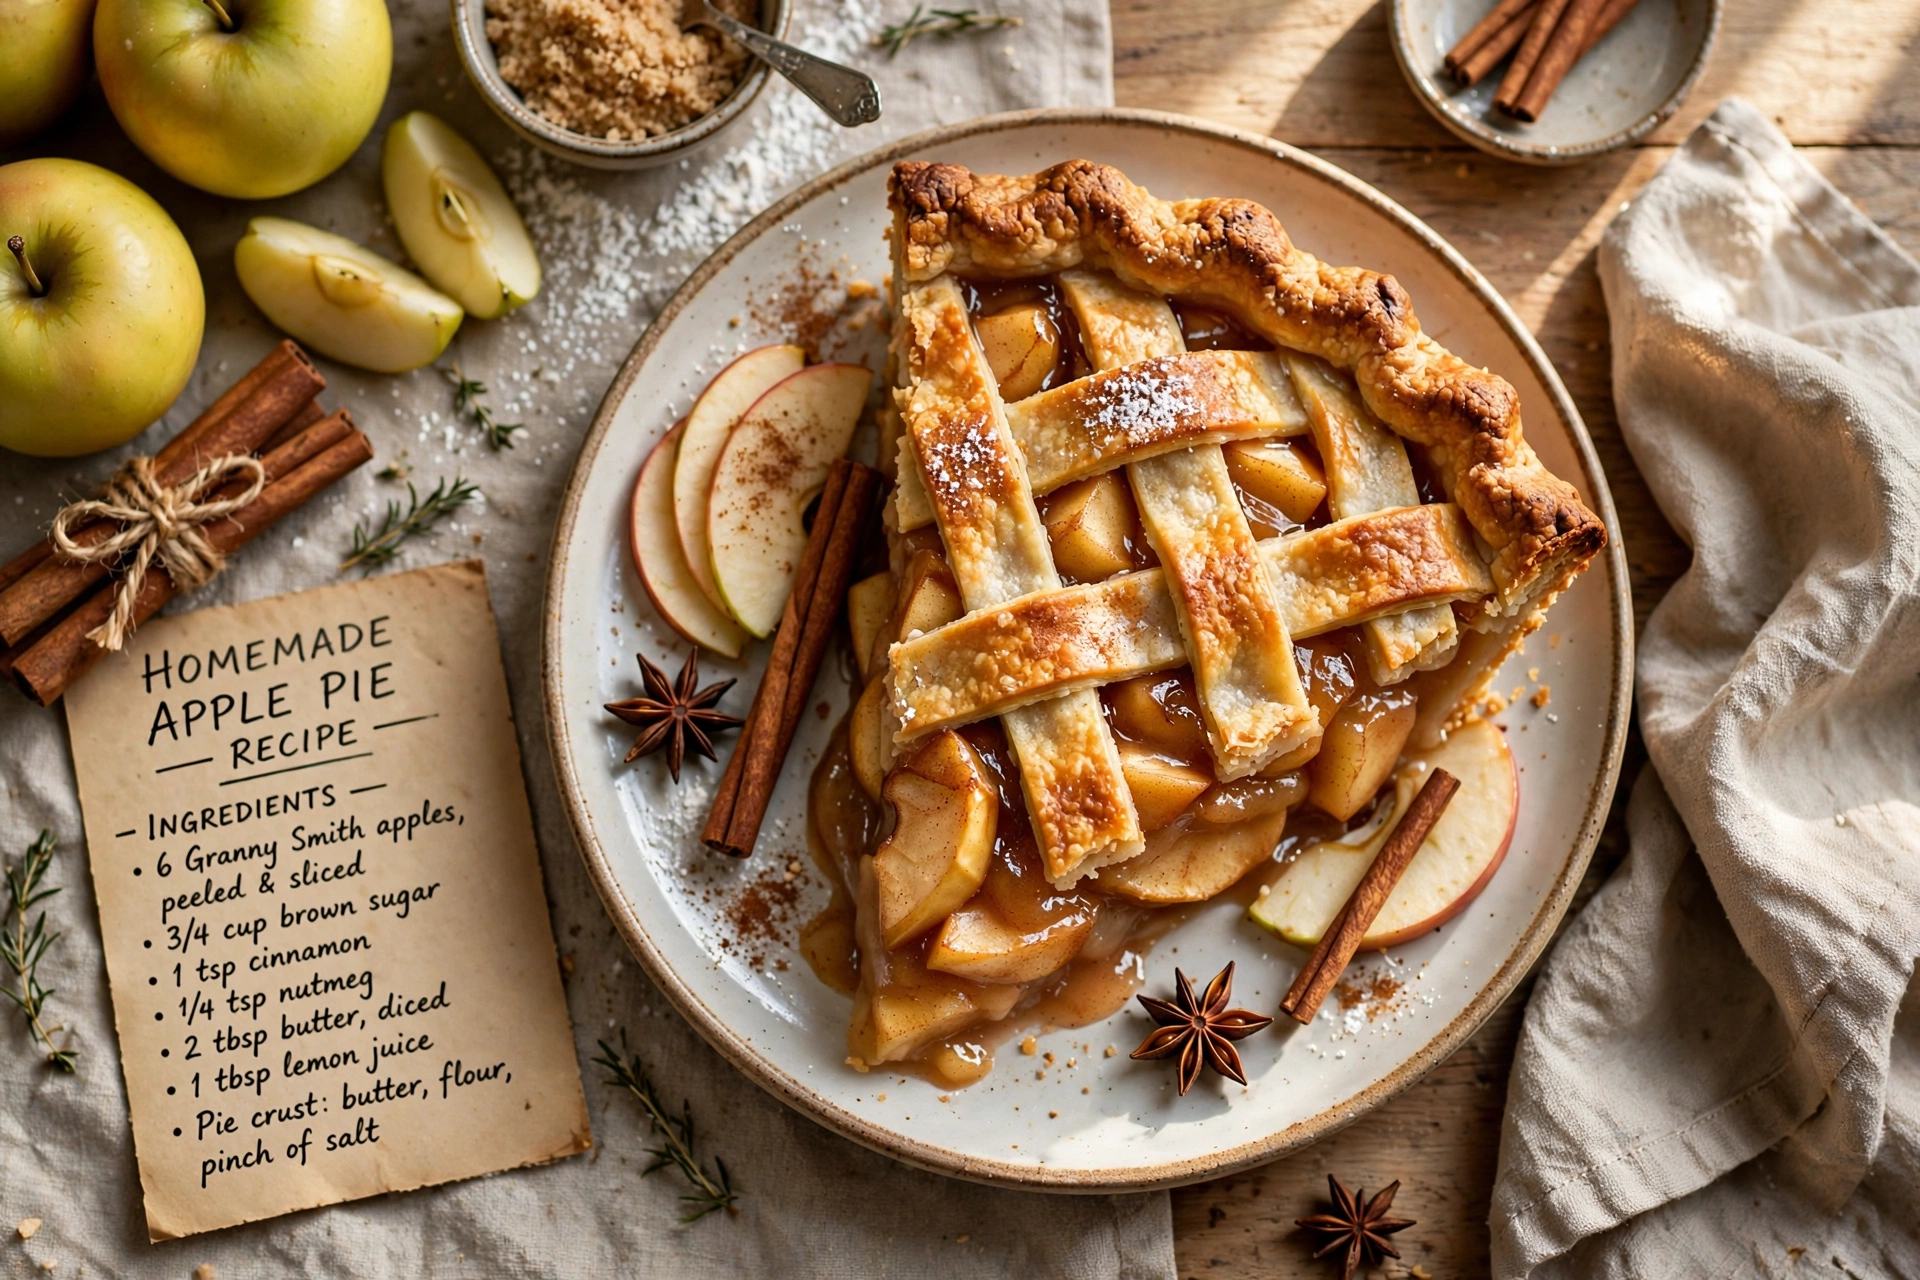
This Apple Slab Pie stacks a buttery double crust with a warmly spiced apple filling and bakes it on a sheet pan, so you get a crowd-sized fall dessert in every slice.

Why You Will Love This Apple Slab Pie
There is something magical about walking into a kitchen filled with the smell of cinnamon-spiced apples baking under a golden crust. This Apple Slab Pie takes everything you love about a classic apple pie and stretches it across a full sheet pan, which means more crust, more filling, and enough servings to feed a holiday table without breaking a sweat. It is one of my favorite fall pies recipes easy enough for a weeknight but impressive enough for Thanksgiving dessert duty.
If you have ever searched for recipes with pie filling that actually deliver on flavor, or you have been curious about apple and pie crust recipes that go beyond the standard round pan, this one is for you. Think of it as apple crisp with pie crust energy, but dressed up and ready for a crowd.
Before we get cooking, the right tools and ingredients make a real difference here. A sturdy rimmed sheet pan keeps the juices contained, a good pastry cutter makes quick work of cold butter, and a reliable rolling pin helps you get that dough evenly rolled without tearing. These are the products that genuinely help this recipe shine:
The Secret to a Flaky, Sturdy Crust
Unlike a one crust apple pie baked in a deep dish, a slab pie needs a dough that can hold its shape across a much larger surface. The trick is keeping your butter cold and working quickly so it stays in small, distinct pieces rather than melting into the flour. Those little pockets of butter are what create flaky layers as the pie bakes.
Chef's Tip: Chill your dough for a full hour, and if your kitchen runs warm, pop it in the freezer for the last 10 minutes before rolling. Cold dough is easy dough.
This recipe makes enough for both a bottom crust and a full top crust, so if you have ever wanted homemade apple desserts with real double-crust texture, this is your moment.
Building the Apple Filling
A great filling is really about balance. I like mixing tart Granny Smith apples with sweeter Honeycrisp for a filling that is never one-note. The cornstarch is essential here since it thickens all those released apple juices into a glossy, spoonable filling instead of a soggy mess.
Letting the apples rest with the sugar and spices for 15 minutes before assembling does double duty. It draws out excess liquid so your crust does not turn soggy, and it lets the cinnamon and nutmeg really soak into every slice.
- Use a mix of tart and sweet apples for depth of flavor
- Slice apples thinly and evenly so they cook at the same rate
- Discard the extra liquid left in the bowl before filling the crust
Assembling and Baking
Rolling out dough to fit a sheet pan sounds intimidating, but it is really just patience and a well-floured surface. Roll your bottom crust a couple inches larger than the pan so you have enough to press up the sides, then repeat with the top crust before sealing the edges shut. A few slits in the top crust let steam escape so your filling bubbles instead of bursting through the sides.
Ready to make it? Here is the full step-by-step recipe:
Apple Slab Pie
This Apple Slab Pie stacks a buttery double crust with a warmly spiced apple filling and bakes it on a sheet pan, so you get a crowd-sized fall dessert in every slice.
Ingredients
- 5 cups all-purpose flour, plus more for rolling
- 2 tbsp granulated sugar, for the crust
- 1 1/2 tsp salt, divided
- 2 cups unsalted butter, cold, cubed
- 3/4 cup ice water, plus more as needed
- 5 lb apples, peeled, cored, and thinly sliced, a mix of Granny Smith and Honeycrisp
- 3/4 cup granulated sugar, for the filling
- 3/8 cup brown sugar, packed
- 3/8 cup cornstarch
- 2 tsp ground cinnamon
- 1/4 tsp ground nutmeg
- 1 tbsp lemon juice, freshly squeezed
- 1 large eggs, beaten, for egg wash
- 2 tbsp turbinado sugar, for sprinkling, optional
- 1 cup powdered sugar, for glaze, optional
- 2 tbsp milk, for glaze, optional
Instruction
In a large bowl, whisk together the flour, 2 tablespoons sugar, and 1 teaspoon salt. Add the cold cubed butter and cut it in with a pastry cutter or your fingers until the mixture resembles coarse crumbs with pea-sized bits of butter remaining.
Drizzle in the ice water a little at a time, tossing with a fork until the dough just comes together. Divide into two discs, one slightly larger than the other, wrap in plastic, and chill for at least 1 hour.
Meanwhile, make the filling. In a large bowl, toss the sliced apples with granulated sugar, brown sugar, cornstarch, cinnamon, nutmeg, remaining 1/2 teaspoon salt, and lemon juice. Let sit for 15 minutes so the apples release their juices.
Preheat the oven to 400 degrees F (200 degrees C). Line a rimmed 13x18-inch sheet pan with parchment paper.
On a floured surface, roll the larger dough disc into a rectangle about 2 inches bigger than your sheet pan. Gently transfer it to the pan and press it into the bottom and up the sides.
Spread the apple filling evenly over the crust, discarding any excess liquid pooled in the bowl.
Roll out the second dough disc into a rectangle to fit the top of the pan. Lay it over the filling, trim the overhang, and crimp the edges of the top and bottom crusts together to seal.
Cut several slits in the top crust to let steam escape. Brush the entire top with the beaten egg wash and sprinkle with turbinado sugar if using.
Bake for 40 to 50 minutes, until the crust is deep golden brown and the filling is bubbling through the slits. Tent loosely with foil if the crust browns too quickly.
Cool on a wire rack for at least 1 hour before slicing. If using the glaze, whisk together powdered sugar and milk until smooth, then drizzle over the cooled pie.
Slice into squares and serve.
Equipment
- 13x18-inch rimmed sheet pan
- Parchment paper
- Pastry cutter
- Rolling pin
- Large mixing bowls
- Wire cooling rack
Notes
Serving and Storing Your Slab Pie
Let the pie cool for at least an hour before slicing. I know that waiting is the hardest part, but this rest time lets the filling set so your squares hold together instead of sliding apart. A simple powdered sugar glaze drizzled on top turns this into a bakery-style treat, though it is just as good served plain with a scoop of vanilla ice cream.
Leftovers keep beautifully. Store loosely covered at room temperature for up to two days, or refrigerate for up to five. A quick reheat in the oven brings the crust right back to crisp, golden perfection.
A Few Variations to Try
- Swap in pears for half the apples for a fall twist
- Add a streusel topping instead of a top crust for an apple crisp with pie crust hybrid
- Stir in a handful of dried cranberries for extra tartness
However you serve it, this Apple Slab Pie is proof that easy apple pie crust and big-batch baking can absolutely go hand in hand.